手把手教你将自己的项目发布到maven中央仓库(2024年最新版)

前言:最近我在将自己写的一些组件开源,想要发布到maven中央仓库,结果发现网上很多的教程都已经过时,而官网的教程也有一定程度上的混沌,主要是部分文章已经过时导致的。给我这样的小白选手带来了一些麻烦,在我自己成功发布后决定总结一下整个流程以及中间遇到的问题分享出来。
maven中央仓库的限制
- 不允许发布快照;
- 必须有javadoc包;
- 必须有souce包:也就是你的代码是开源的,这也是为什么一些不开源jar包不选择中央仓库的主要原因,比如itext和aspose等
- 至少有
.md5和.sha校验结果; - 必须要使用GPG或者gpg签名;
- 必须有
pom.xml文件:同时需要有正确的groupId、artifactId、version、name、description、url、licenses、developers、scm
那么接下来我会详细讲解一下关于这些条件的。
不允许发布快照
快照即snapshot,也就是说你pom.xml文件中的version中不能包含SNAPSHOT关键字
必须有javadoc包
在你的pom.xml文件中加上插件即可:
1 | <project xmlns="http://maven.apache.org/POM/4.0.0" xmlns:xsi="http://www.w3.org/2001/XMLSchema-instance" |
其中插件的版本最好是直接使用最新的,你可以在这里查看最新的插件版本:maven-javadoc-plugin
这样在最后使用maven来发布的时候,这个插件会自动帮你处理好javadoc的部分。当然,如果你的代码中不符合javadoc规范,则需要通过错误信息自行处理掉。
必须有souce包
和必须有javadoc包类似,也是通过插件来处理。
1 | <project xmlns="http://maven.apache.org/POM/4.0.0" xmlns:xsi="http://www.w3.org/2001/XMLSchema-instance" |
插件最新版本见:maven-source-plugin
至少有.md5和.sha校验结果
和必须有javadoc包类似,也是通过插件来处理。
1 | <project xmlns="http://maven.apache.org/POM/4.0.0" xmlns:xsi="http://www.w3.org/2001/XMLSchema-instance" |
插件最新版本见:central-publishing-maven-plugin
同时这个插件也包含了直接发布到中央仓库的作用,后面会单独再讲到的。
必须要使用GPG或者PGP签名
和必须有javadoc包类似,也是通过插件来处理。
1 | <project xmlns="http://maven.apache.org/POM/4.0.0" xmlns:xsi="http://www.w3.org/2001/XMLSchema-instance" |
插件最新版本见:maven-gpg-plugin
安装GPG
除了配置maven插件之外,你还需要在本地安装gpg以及初始化自己的私钥、公钥,并且还需要将公钥推送到三方服务器上。
这个是官网对应的介绍:https://central.sonatype.org/publish/requirements/gpg/
我使用的是macOS + Homebrew的组合:
1 | brew install gpg |
生成密钥
安装好gpg后,我们需要生成自己的私钥和公钥:
1 | gpg --gen-key |
需要输入自己的姓名、电子邮件地址和密码。同时此密钥的有效期默认为 3 年(官网文档没更新,现在默认已经有效期是3年)。
当密钥过期以后用到这个密码来延长有效期。
分发公钥
使用命令查看自己的密钥key
1 | gpg --list-keys |
会拿到类似的结果:
1 | ~ ❯ gpg --list-keys 16:06:40 |
可以看到这个pub一行最后有一串类似于UUID的内容,比如我的就是:ABA2A06BB49B04E3B47616698B90791C18BFEF1E,这个就是你的密钥key。
再使用命令分发即可:
1 | gpg --keyserver keyserver.ubuntu.com --send-keys ABA2A06BB49B04E3B47616698B90791C18BFEF1E |
其中keyserver.ubuntu.com有几个替代品:
keyserver.ubuntu.comkeys.openpgp.orgpgp.mit.edu
我自己用的keys.openpgp.org
1 | gpg --keyserver keys.openpgp.org --send-keys ABA2A06BB49B04E3B47616698B90791C18BFEF1E |
这是我的分发链接:https://keys.openpgp.org/vks/v1/by-fingerprint/ABA2A06BB49B04E3B47616698B90791C18BFEF1E
分发后,你也可以在这个网页搜索自己的key:https://keys.openpgp.org/
必须有pom.xml文件
实际在发布的时候,必须有单独的pom.xml文件。
但是我是用插件central-publishing-maven-plugin发布,所以我们只需要按照maven规范在项目中维护好pom.xml文件即可,打包的时候会由插件将pom.xml挪到正确的位置。
关于pom.xml文件内容的维护涉及了很多内容,我把groupId、artifactId、version、name、description、url合并为常规内容,其他的则单独描述。
我这里也把我自己的pom.xml文件链接放这里供大家参考。
需要注意的是官网给出的示例已经过时了(截止2024年7月10日的信息)。
常规部分
开始这部分之前,你需要在中央仓库完成注册/登录并且需要验证属于自己的域。
访问官网,在最右侧有一个Sign In按钮
我建议是直接使用GitHub授权登录。有两个理由:
- 后续关于
scm的声明时需要用到GitHub开源代码托管服务; - 如果你没有自己的域名,你可以直接使用GitHub提供的;
如果你像我一样,希望用自己的域名,则在登录完成后点击自己的名称,然后选择“View Namespaces”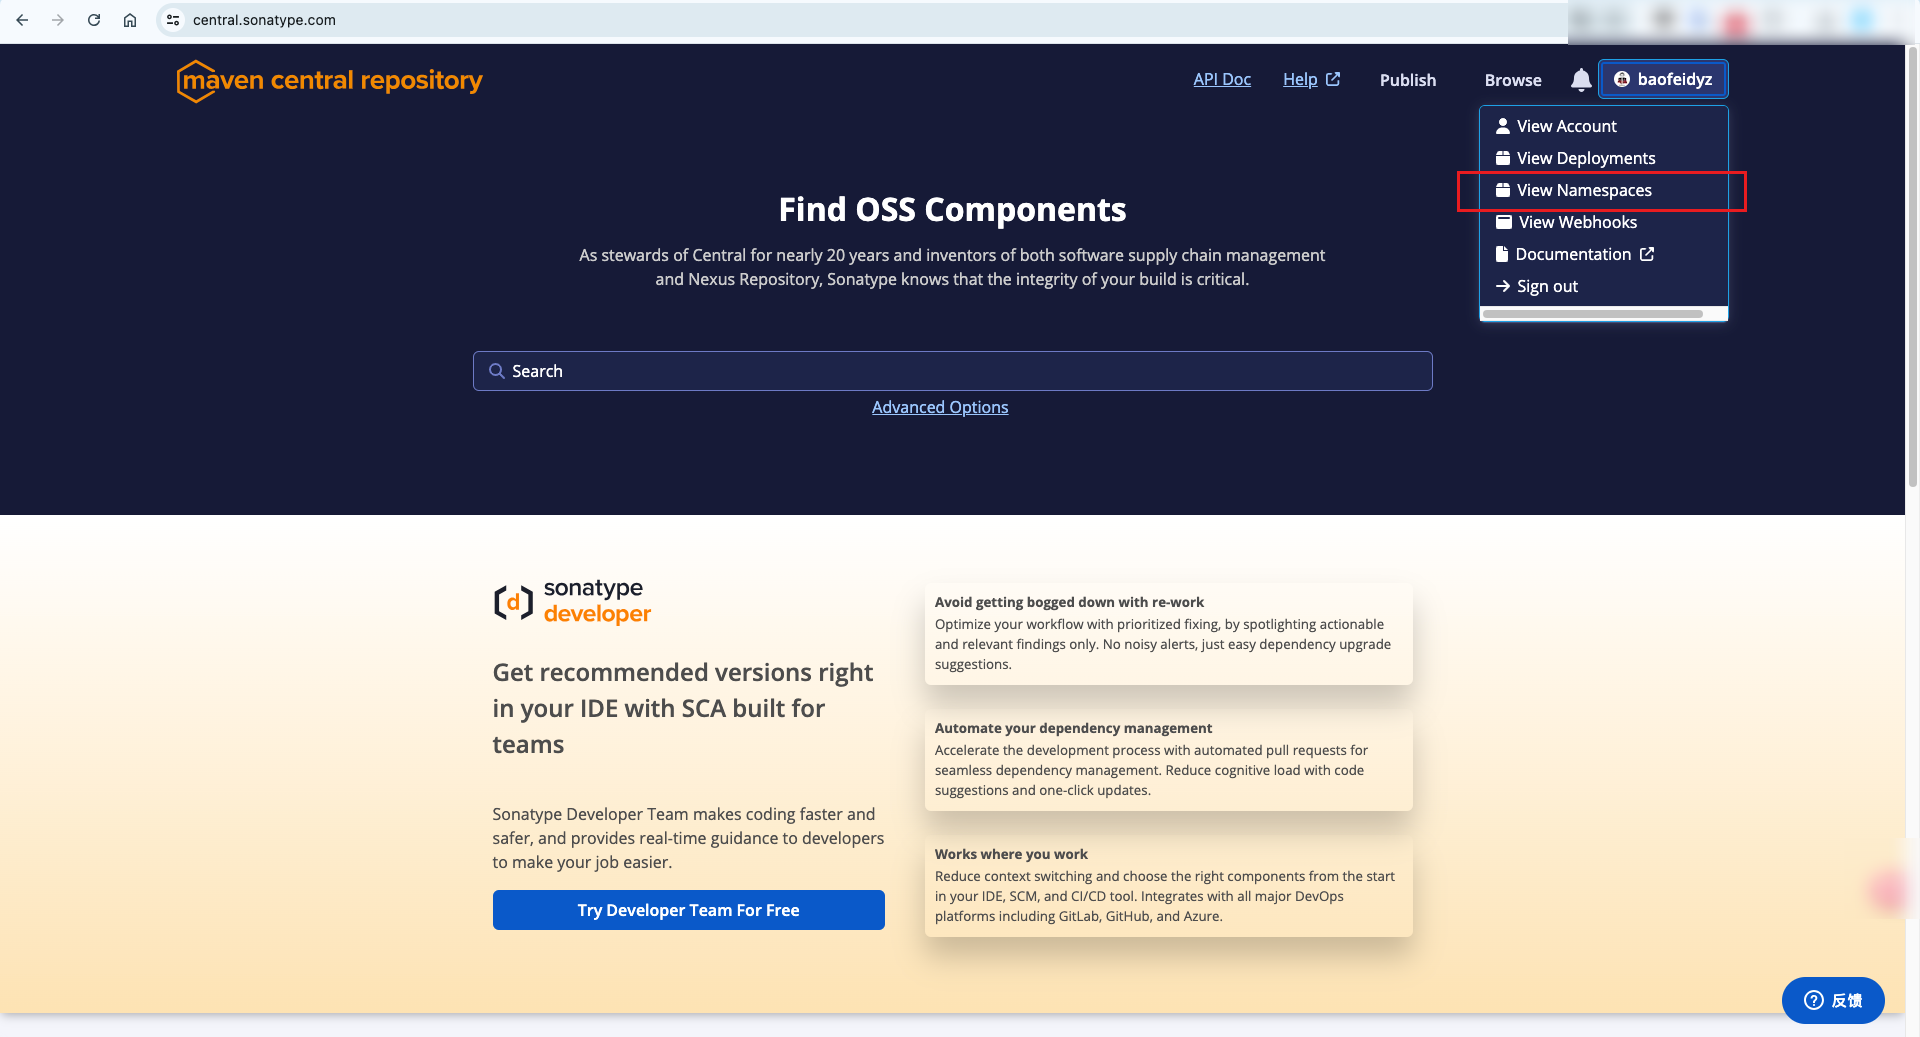
然后点击“Add Namespace”按照网页提示添加,然后去修改dns解析即可。需要注意的是,这里的Namespcae和域名是反的,比如我的域名是baofeidyz.com,则这里需要输入的是com.baofeidyz
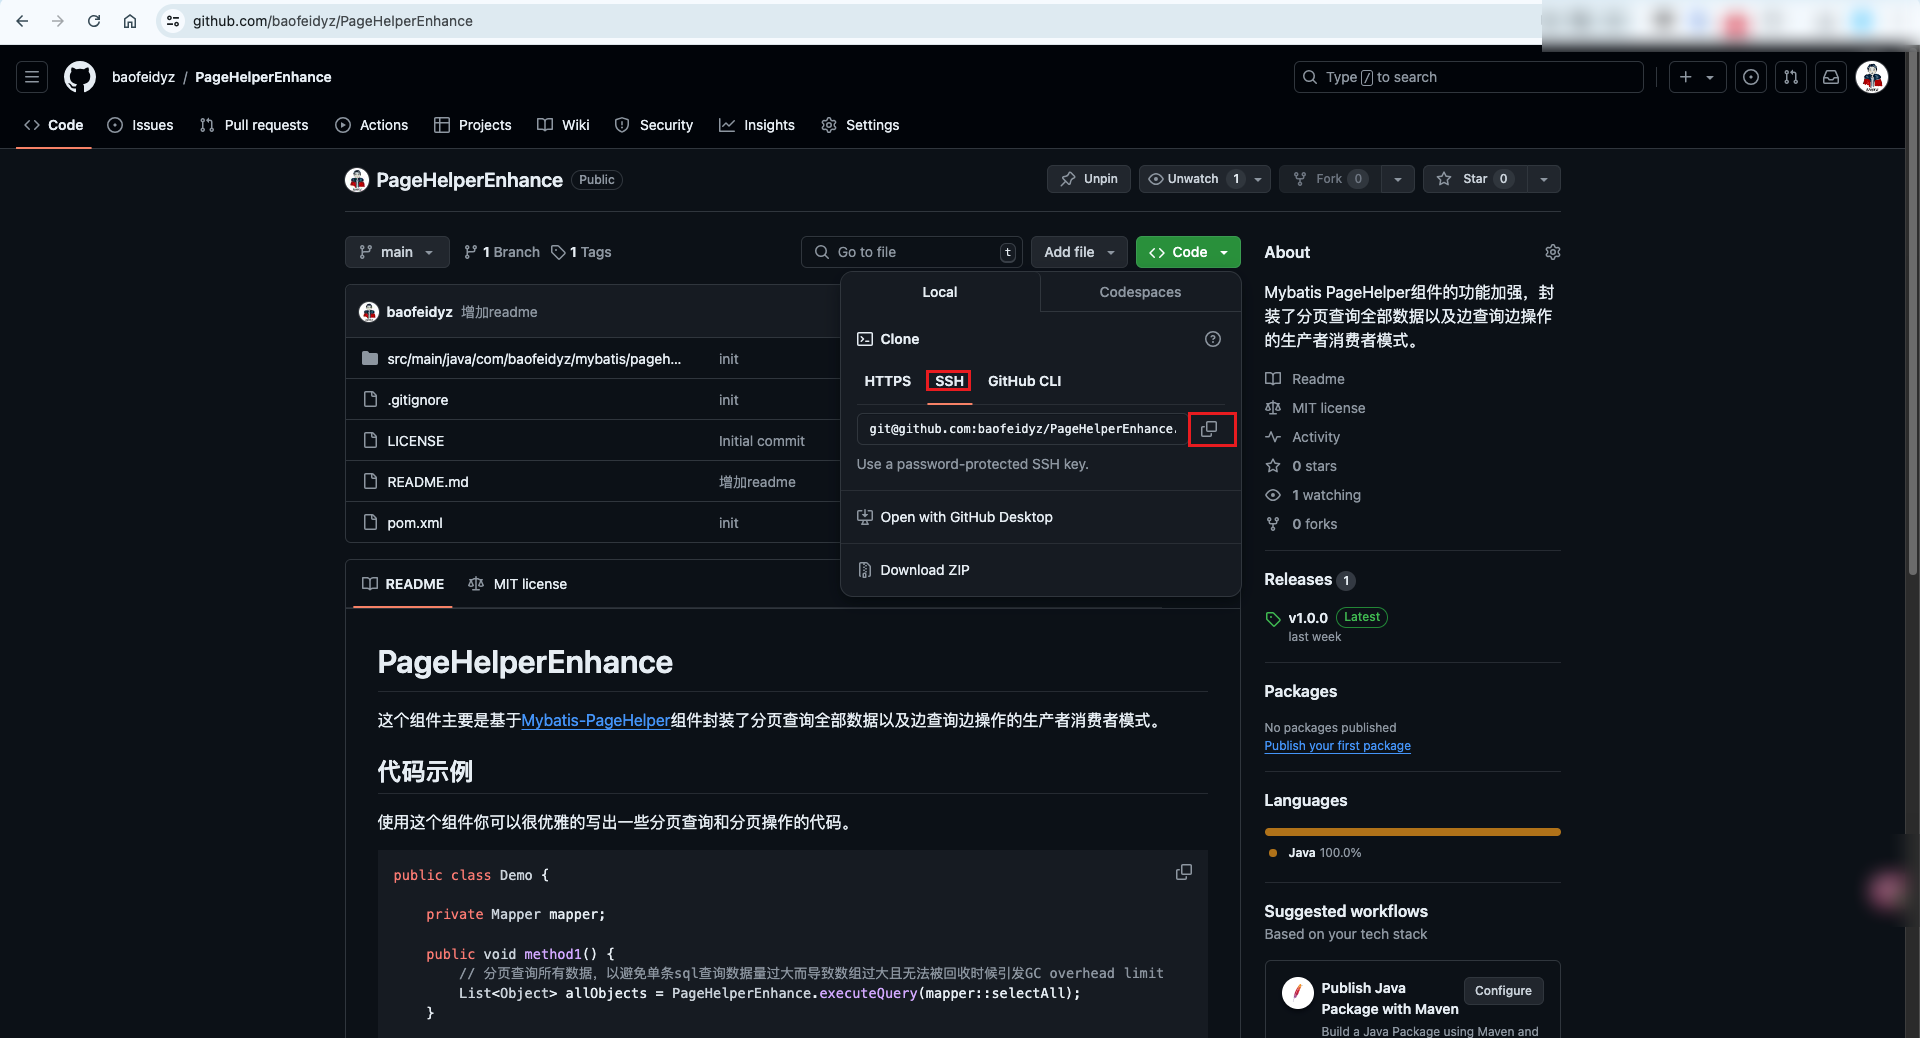
groupId:这里则对应刚才的Namespcae即可artifactId:组件ID,任意即可,比如我最近上传的组件PageHelperEnhanceversion:版本号,比如1.0.0(记得不要带-SNAPSHOT,maven中央仓库不允许发布快照)name:组件名称,比如PageHelperEnhancedescription:描述,比如“Mybatis PageHelper组件的功能加强,封装了分页查询全部数据以及边查询边操作的生产者消费者模式。”url:开源地址,比如:https://github.com/baofeidyz/PageHelperEnhance
licenses
开源协议,关于选择的问题,建议去看看GitHub提供的资料:choosing-the-right-license
另外官网有提到两个授权,分别是The Apache License, Version 2.0和MIT License
但是我个人觉得MIT和GPL3.0更重要些。
MIT
1 | <project xmlns="http://maven.apache.org/POM/4.0.0" xmlns:xsi="http://www.w3.org/2001/XMLSchema-instance" |
developers
这个相对来说简单很多,就是注明一下开发者信息即可,你可以直接参考我的内容进行修改。
1 | <project xmlns="http://maven.apache.org/POM/4.0.0" xmlns:xsi="http://www.w3.org/2001/XMLSchema-instance" |
- name写你自己的名称
- email写你自己的电子邮箱地址
- url则是你个人主页的地址,如果没有可以写你自己的GitHub主页,比如 https://github.com/baofeidyz
如果有多个开发者,则多加几个developer节点即可
scm
官网介绍:https://central.sonatype.org/publish/requirements/#scm-information
如果用的也是GitHub管理,那直接根据我的示例修改成你自己的信息即可:
1 | <project xmlns="http://maven.apache.org/POM/4.0.0" xmlns:xsi="http://www.w3.org/2001/XMLSchema-instance" |
- connection是git地址,一般在GitHub项目有一个绿色的code按钮,点击以后即可找到
准备发布到maven中央仓库
如果你已经全部满足了上述所有的要求,此时你就可以开始做最后的准备了。
在官网登录自己的账号以后,选择“View Account”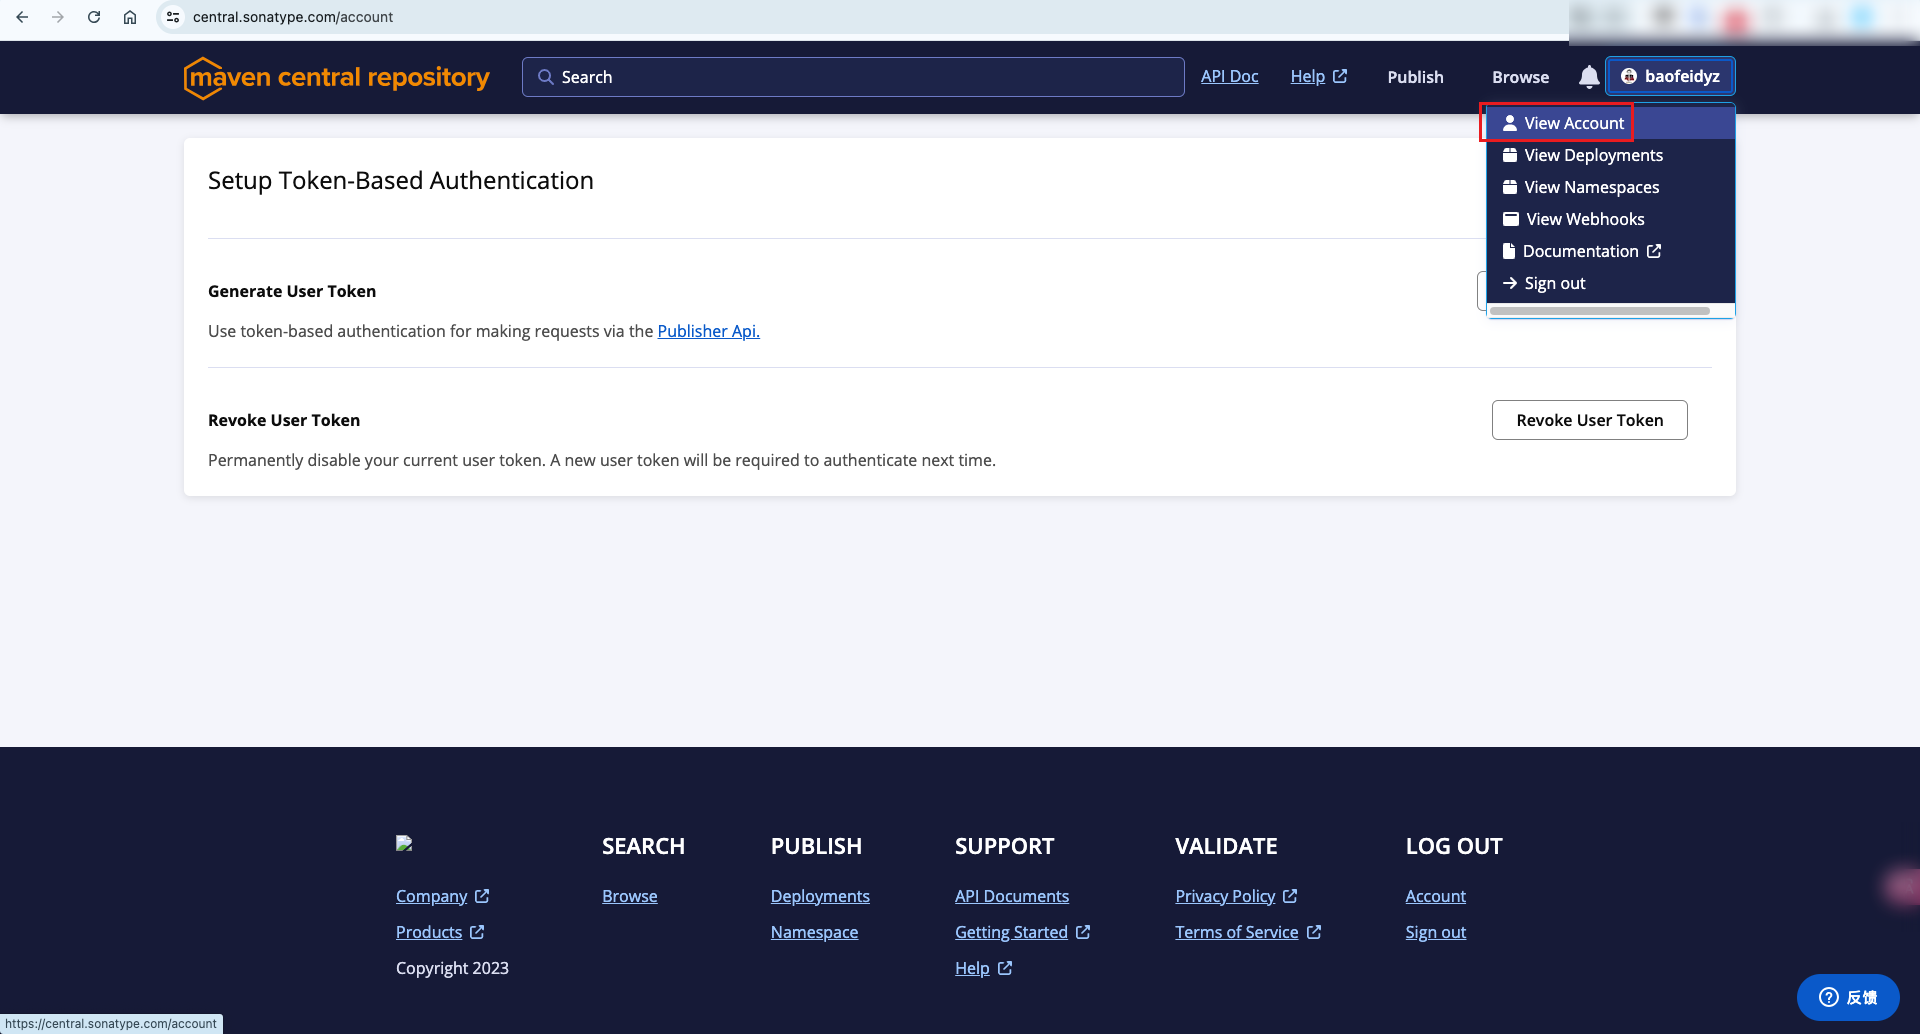
再点击“Generate User Token”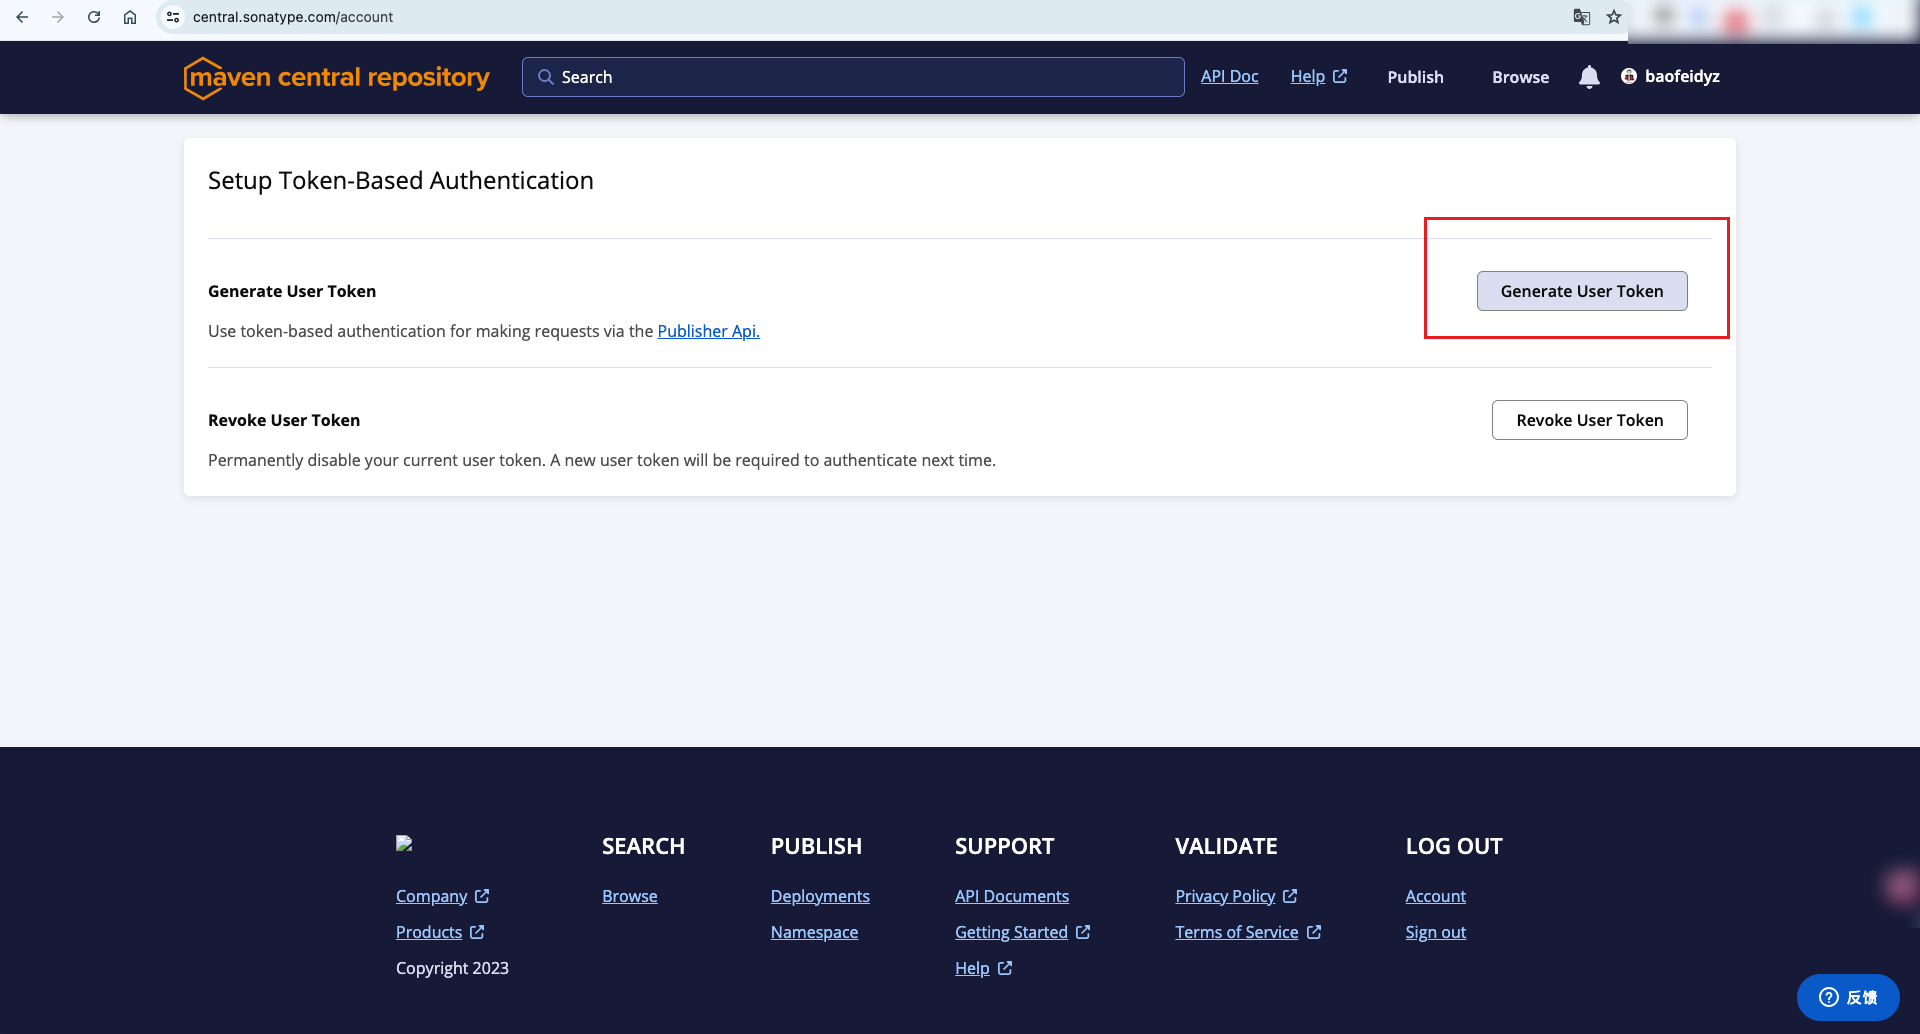
此时你会拿到Username和Password两个参数,以及一个settings.xml示例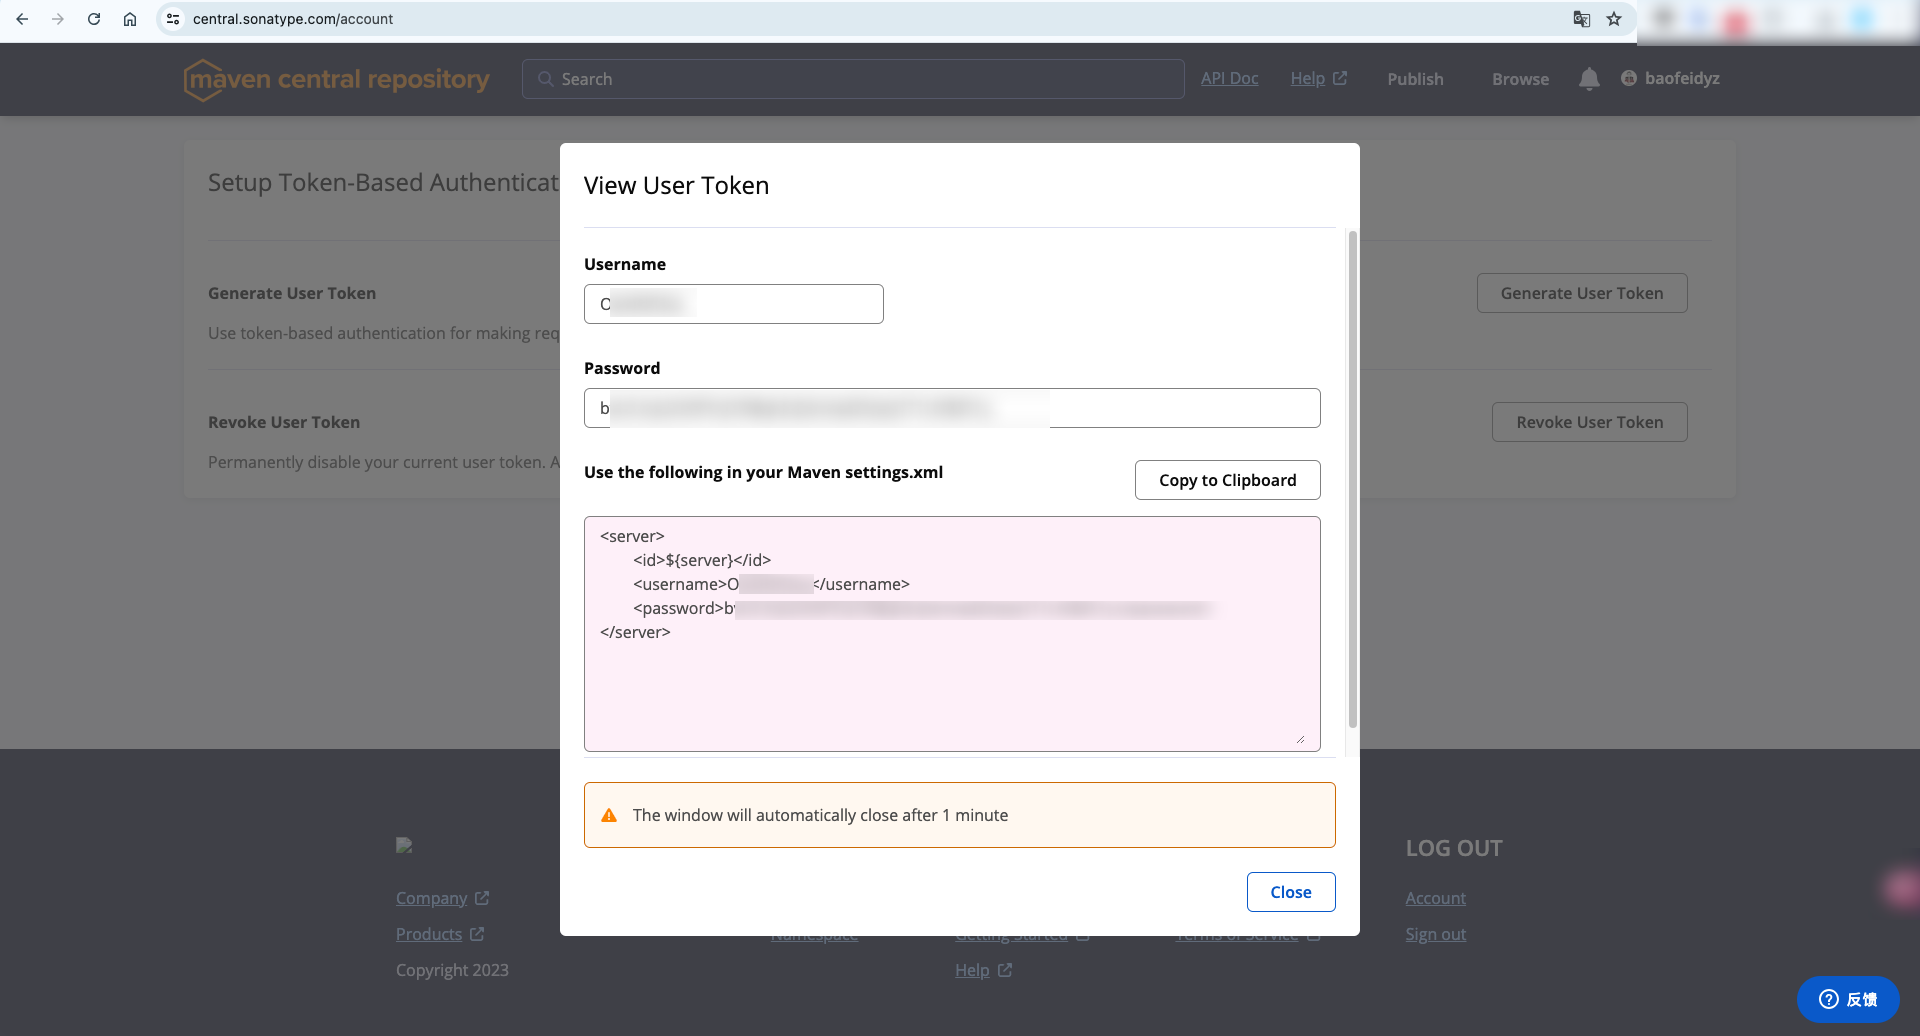
如果你之前曾经发布过到自建maven仓库,相信后面要如何调整你已经非常清楚了。
首先你的本地需要安装maven,下载解压以后会看到一个settings.xml文件,你需要做的就是将官网获取的Username和Password放到这个settings.xml文件中,参考位置如下:
1 |
|
注意这里的id为central,实际上是对应着我在至少有.md5和.sha校验结果提到的内容:
1 | <project xmlns="http://maven.apache.org/POM/4.0.0" xmlns:xsi="http://www.w3.org/2001/XMLSchema-instance" |
和这个publishingServerId是保持一致的。
至此,所有的准备都OK了。
发布到maven中央仓库
在项目的pom.xml文件的同级目录中,执行
1 | mvn deploy |
即可,当然我更推荐指定settings.xml文件以避免一些没必要处理的问题
1 | mvn deploy --settings ~/.m2/settings.xml |
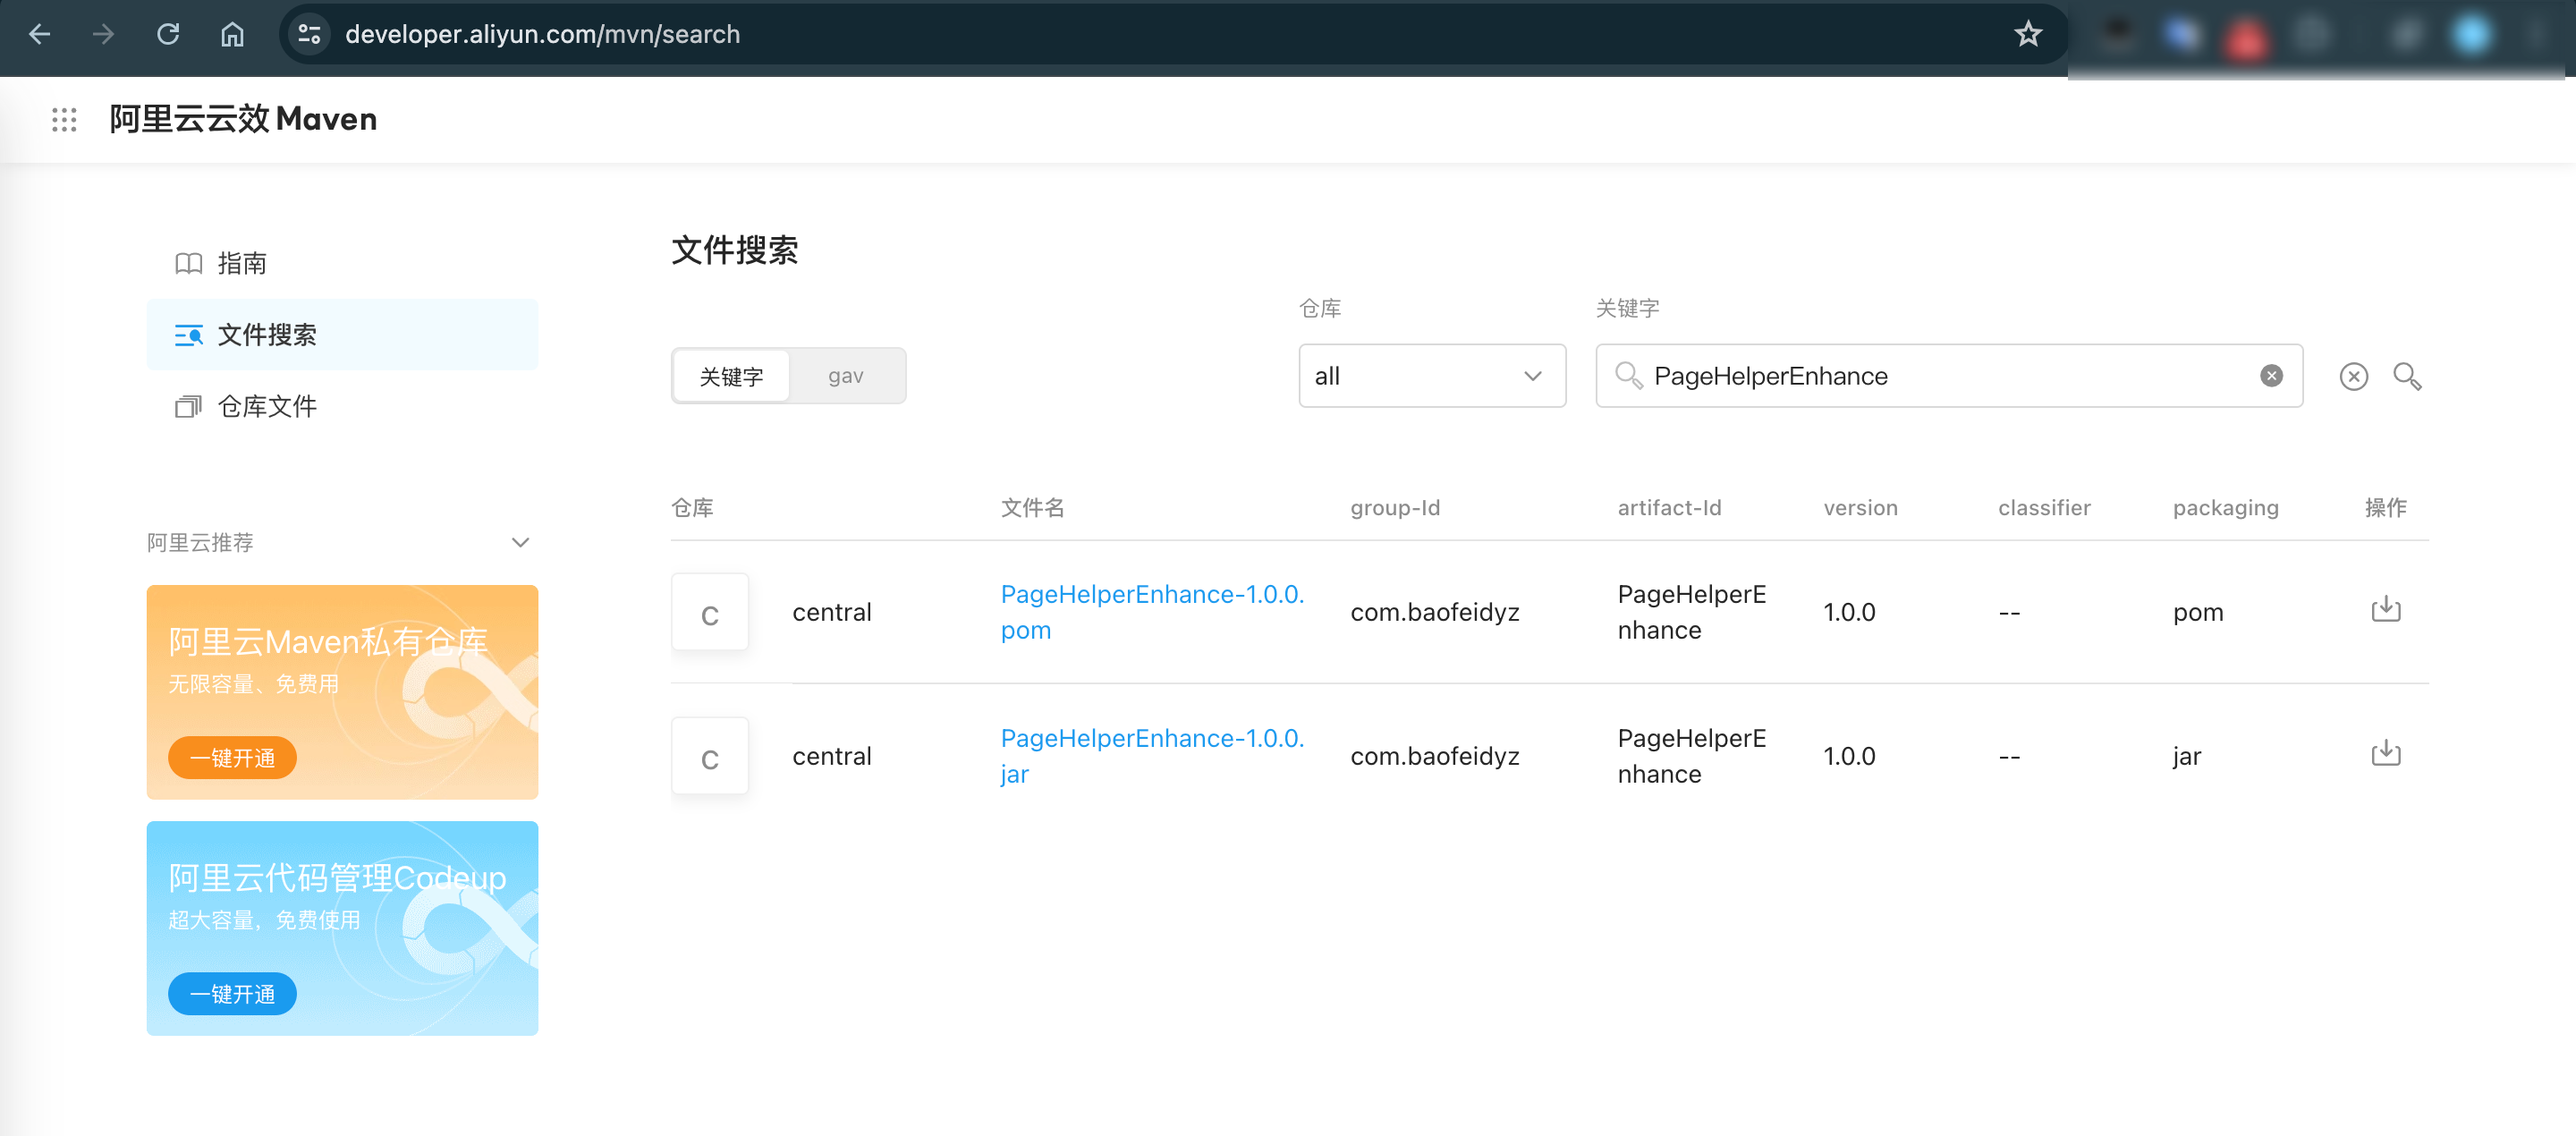
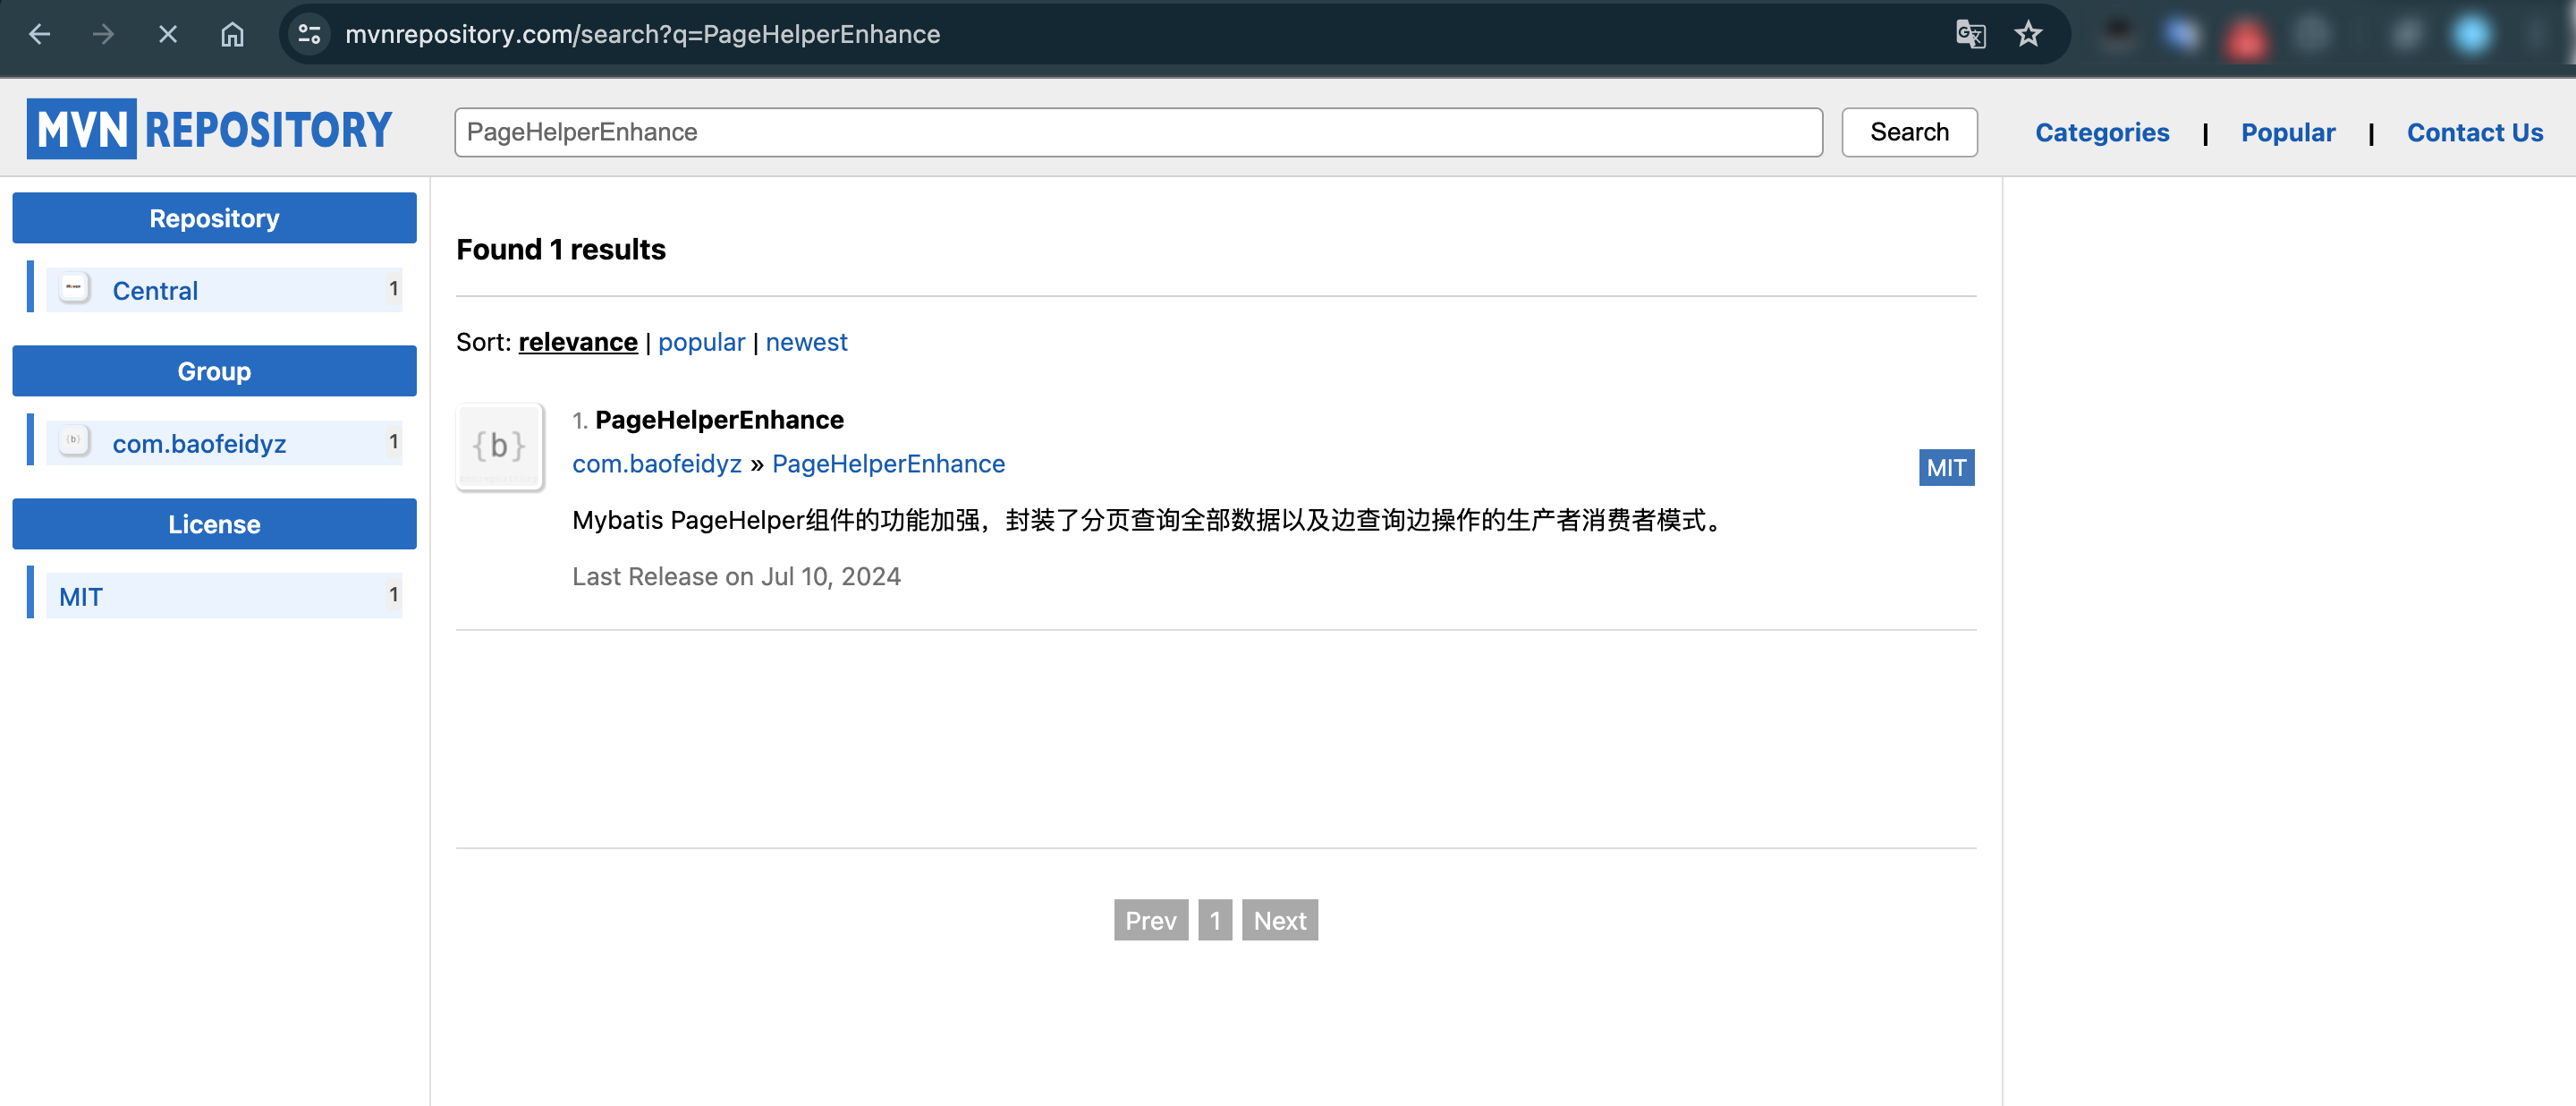
成功推送后,你还需要在官网 https://central.sonatype.com/publishing/deployments点击“Publish”正式发布。然后就可以在中央仓库搜索到自己的组件了。其他镜像库,比如阿里、mvnrepository.com等大概四个小时左右就会同步。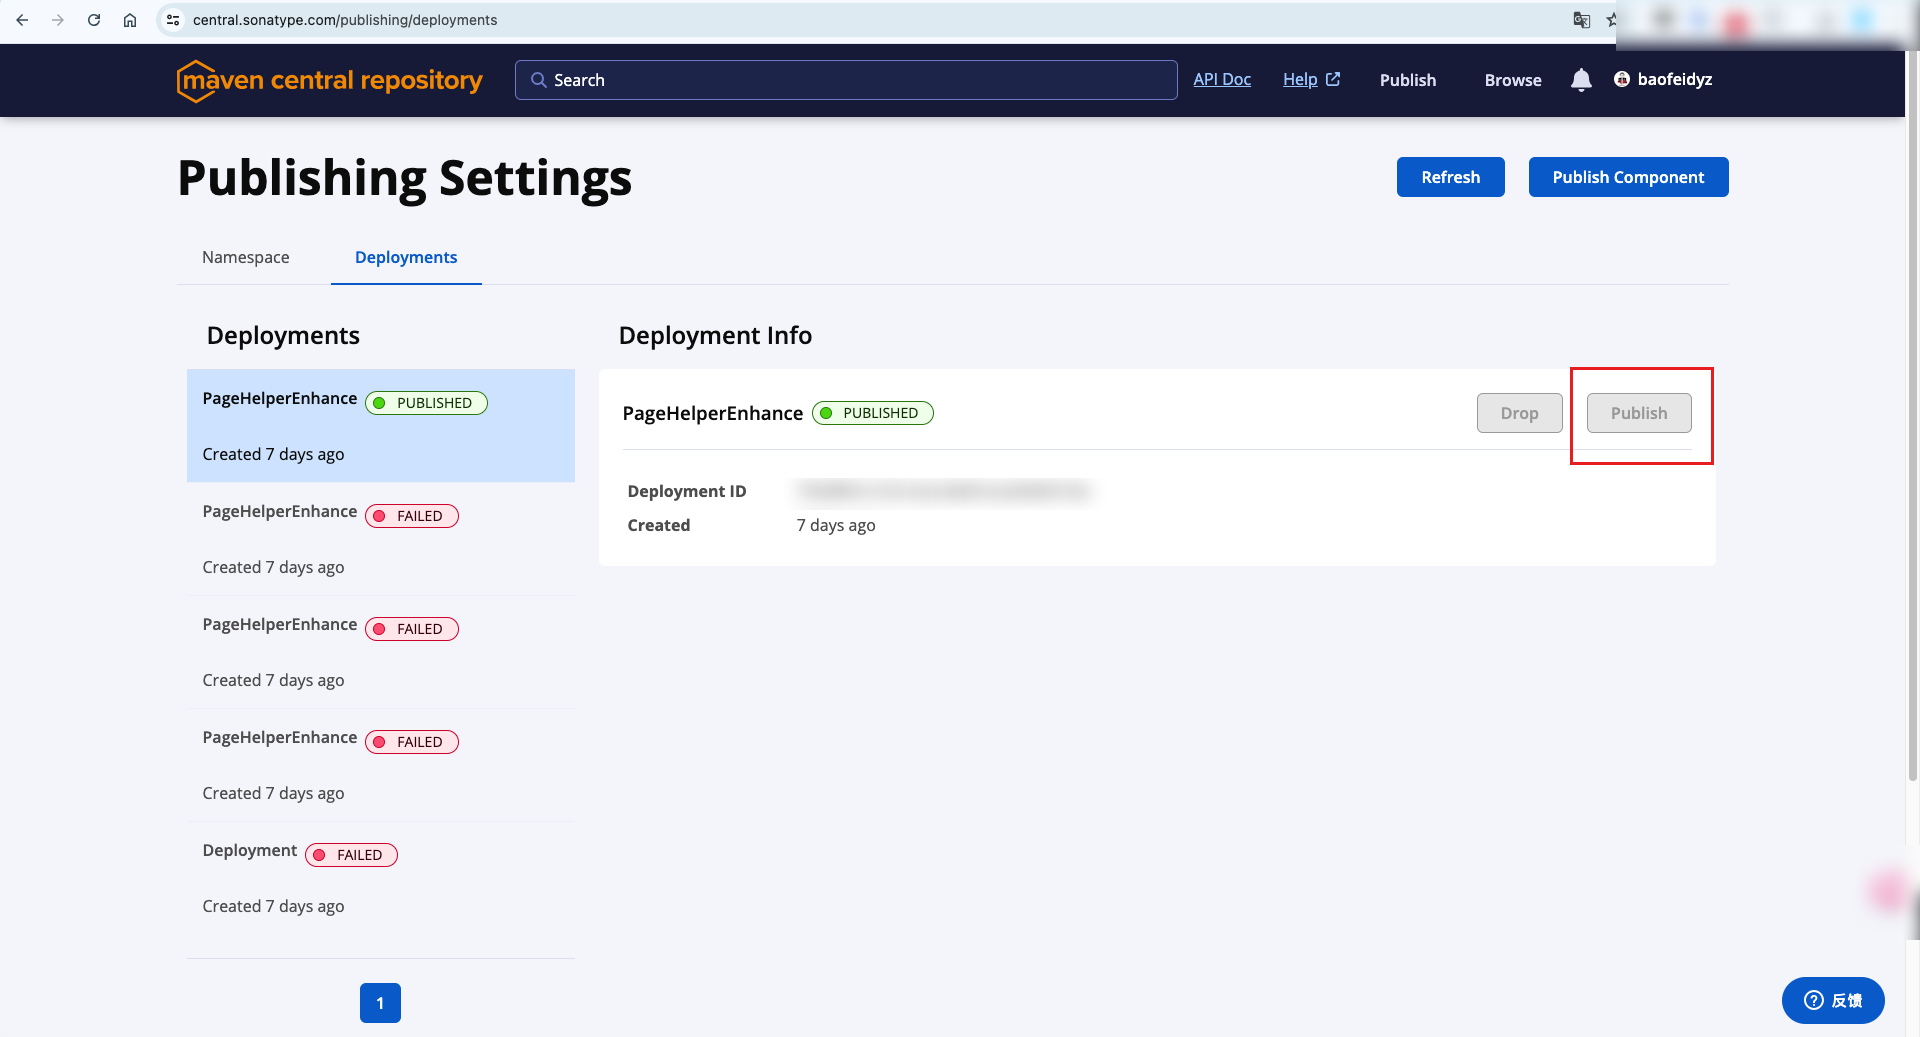
也许你可能还会遇到一些问题,我简单例举几个以及处理方式:
javadoc不通过
如果没有长期使用javadoc规范,很可能你的注释内容会因为各种不标准导致javadoc不通过的,此时你只需要耐心的查看报错信息然后根据信息去排查解决问题就可以。
推送到maven仓库以后被拒绝
central-publishing-maven-plugin 这个插件默认是推送到maven仓库后,会将结果信息返回给你(此外你还可以在官网通知中查看),会明确的告知你缺少什么。
你如果按照maven中央仓库的限制做了调整,相信这一步会很顺利。
最后
如果文章内容有不正确的地方,还请评论告知。如果你成功发布了项目也欢迎在评论区留下你的项目链接,非常欢迎大家宣传自己的开源项目!